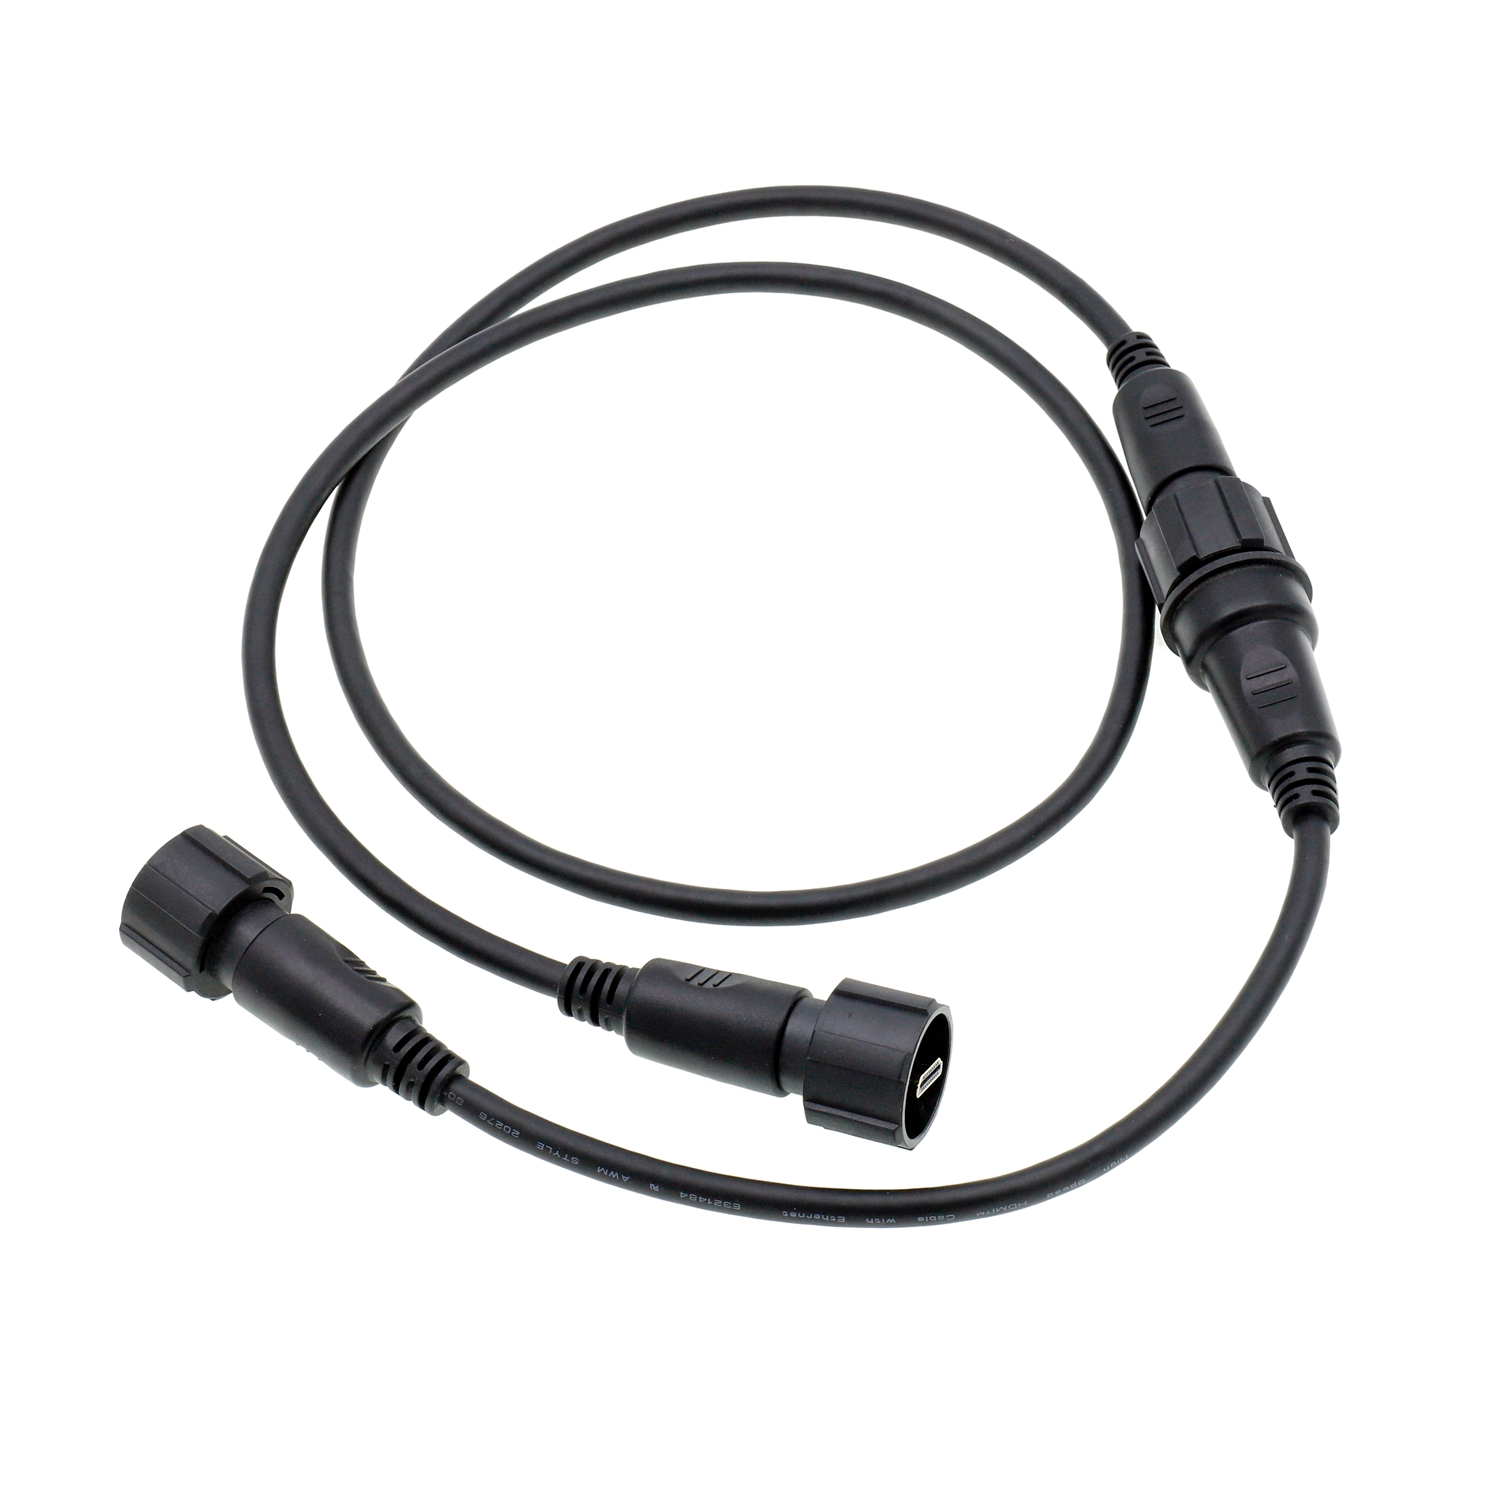
Dongguan XSD Cable
Technology Co., Ltd.
- All
- Product Name
- Product Keyword
- Product Model
- Product Summary
- Product Description
- Multi Field Search
Creating a precise blueprint is the first and most critical step in manufacturing any complex electrical system. When we talk about How We Build Wire Harness Drawings, we aren't just discussing lines on a page; we are defining the central nervous system of a machine. Whether it is for an Automotive Wire Harness or a heavy-duty Industrial Wire Harness, the drawing serves as the single source of truth for engineers, assembly technicians, and quality control teams.
A well-executed drawing prevents costly wiring errors, reduces material waste, and ensures safety compliance. It bridges the gap between a conceptual circuit diagram and a physical product that must fit into a tight space, endure vibrations, and resist environmental stress. In this guide, we will break down the exact process of building these technical documents from the ground up.
Before a single line is drawn, we must understand the electrical logic. The foundation of any Electrical Wire Harness drawing is the circuit schematic. This document tells us which component connects to another, but it doesn't tell us how long the wires are or where they sit physically. Our job in the drawing phase is to translate that logic into a physical layout.
We start by identifying the application. Is it a Waterproof Wire Harness for marine use? Or perhaps a Flat Wire Harness designed to fit behind a vehicle's headliner? These environmental factors dictate the materials we list in the drawing's Bill of Materials (BOM). We look at voltage requirements, current loads, and electromagnetic interference (EMI) shielding needs. If the system operates in high-heat zones, we select specific insulation types like cross-linked polyethylene (XLPE) or Teflon.
To ensure accuracy, we compile a data sheet before starting the CAD (Computer-Aided Design) process:
| Category | Requirements for Drawing | Importance |
| Circuit Logic | Point-to-point connectivity | Ensures functional correctness |
| Mechanical Constraints | Routing paths and clip locations | Ensures fitment in the final product |
| Environmental | IP ratings, Temp range | Determines sleeve and connector choice |
| Regulatory | UL, CE, or IPC-WHMA-A-620 | Guarantees safety and legal compliance |
We never guess. Every connection in the Wire Harness drawing must trace back to the master schematic. We use automated software tools to import "netlists." These lists contain every start and end point for the wires. This automation eliminates human error, ensuring that Pin A on Connector 1 always goes to Pin B on Connector 2 as intended by the electrical engineer.
One of the unique aspects of a Custom Wire Harness drawing is that it is often drawn at a 1:1 scale, known as a "Formboard" or "Nailboard" layout. Unlike architectural blueprints which are scaled down, harness drawings need to be life-sized so production workers can lay physical wires directly on top of the printed drawing during assembly.
We begin by drawing the "backbone"—the thickest part of the Wire Harness where most wires bundle together. From there, we draw the "branches" that lead to individual connectors. We must account for the "bend radius." Wires cannot turn at 90-degree sharp angles without stressing the copper strands. Our drawings include calculated curves that ensure the longevity of the Electrical Wire Harness.
Accuracy in measurement is where many beginners fail. When we build the drawing, we calculate the length of each segment between breakouts. We add "service loops" or extra slack—usually 5% to 10%—to ensure that when the harness is installed in a vibrating Automotive engine bay, the wires aren't pulled tight enough to snap.
Step 1: Define the origin point (usually the main power source).
Step 2: Map the path to the furthest connector.
Step 3: Add "take-outs" for sensors or auxiliary power.
Step 4: Annotate each length in millimeters for global manufacturing standards.
We also consider how a human will build this. If a branch is too short, a technician can't reach the connector to crimp it. If it's too long, it might flop around and get pinched in moving parts. The 1:1 drawing acts as a template, guiding the physical placement of every wire, sleeve, and label.
A Wire Harness is only as good as its connections. In this section of the drawing, we go into extreme detail regarding the "ends" of the wires. This is where we specify exactly which hardware is used to interface with the rest of the machine.
Each connector on the drawing receives a unique identifier (e.g., J1, P2). We provide a "Connector View" on the drawing, showing the face of the plug so the assembler knows which pin is #1 and which is #24.
Housing Part Numbers: We list the exact manufacturer part number (e.g., Molex, TE Connectivity, Deutsch).
Keying and Color: We specify if a connector is "Key A" or "Key B" to prevent cross-mating.
Cavity Plugs: For a Waterproof Wire Harness, we must show which empty cavities need sealing plugs to keep moisture out.
The terminal is the metal piece crimped onto the wire. It must match the wire gauge (AWG). If we use a 14 AWG wire in an Industrial Wire Harness, the terminal must be rated for that size.
Plating: We specify Gold-plated terminals for low-voltage signals to prevent corrosion, and Tin-plated for high-power circuits.
Seal Selection: For Waterproof applications, we include individual wire seals that slide onto the wire before crimping. Our drawings explicitly show these components in a cross-section view.
We include a comprehensive table on the drawing that lists every single component. This BOM includes:
Wire Type: (GXL, TXL, or SXL for Automotive).
Terminals: Part numbers for every pin.
Backshells: Protective covers for the back of the connectors.
Hardware: Clips, clamps, and cable ties used to secure the harness.
Visual clarity is vital for a Custom Wire Harness. When a technician looks at a bundle of 50 wires, they need to know instantly which one is "Ground" and which one is "12V Power." This is why color coding and gauge labeling are prioritized in our drawings.
We determine wire gauge based on current (Amperage) and length. For an Industrial Wire Harness, longer runs require thicker wires to prevent voltage drop.
18-22 AWG: Common for signal wires (sensors).
10-14 AWG: Common for power distribution.
0-4 AWG: Used for battery cables or heavy motors.
Our drawing clearly labels every wire with its gauge. We often use a "Wire List" table on the side of the drawing that correlates the wire ID to its specific thickness.
We use a standardized color-coding system. In most Electrical Wire Harness designs:
Black: Ground (GND).
Red: Constant Battery Power (B+).
Yellow/Orange: Switched Ignition Power.
Striped Wires: When we run out of solid colors, we use "tracers" (e.g., White with a Blue stripe). Our drawing software generates these labels automatically, ensuring the physical wire matches the digital record.
We don't just rely on colors. Every wire in our Wire Harness drawing is assigned a "Circuit ID." This ID is often printed directly onto the wire insulation using inkjet or laser marking. The drawing shows exactly where these labels should be placed—typically 50mm from the connector end. This makes troubleshooting a breeze for the end-user. If a machine fails, they can look at the drawing, find "Circuit 105," and trace it through the machine easily.
The environment dictates how we wrap the Wire Harness. A drawing isn't complete until it specifies the "skin" of the harness. This protection ensures the Wire Harness survives heat, abrasion, chemicals, and moisture.
We choose the covering based on where the harness lives.
Corrugated Loom: This is the standard "split-tube" seen in Automotive Wire Harness designs. It offers great impact protection.
Braided Sleeving: Excellent for flexibility and aesthetics. We often use Flame-Retardant (FR) versions for Industrial equipment.
Heat Shrink: For a Waterproof Wire Harness, we specify adhesive-lined heat shrink at the joints to create a moisture-proof seal.
PVC Tape: Used for spot-taping or full-wrap in areas where space is extremely tight.
Our drawings include "Wrap Instructions." We indicate where the harness should be "spot-taped" (every 100mm) or "continuously wrapped." We also mark the locations for mounting hardware.
Rosebuds/Clips: These are the fasteners that snap into the vehicle frame.
Rubber Grommets: If the Wire Harness passes through a metal firewall, the drawing must show a grommet to prevent the metal from cutting the wires.
We must define the "End of Wrap" points. Typically, the protective sleeve should stop about 25mm to 50mm before the connector to allow for wire flexibility. We specify these dimensions clearly on the drawing so that the production team doesn't accidentally wrap the harness too tight, making it impossible to plug in.
In large systems, we often need to split one power wire into four or five branches. This is called a "splice." How we document these splices in the Wire Harness drawing is crucial for long-term reliability.
We show the exact method of splicing in the drawing notes.
Ultrasonic Welding: The gold standard for Automotive systems. It fuses the copper molecules together without solder.
Crimp Splices: Using a metal sleeve to crush wires together.
Solder Splices: Rare in high-vibration environments but used in some Custom Wire Harness applications.
A splice is a "stiff point" in the harness. It cannot be placed on a bend. Our drawings specify the exact distance of the splice from the nearest breakout. We also ensure that splices are "staggered." If you put five splices in the same spot, you get a giant "lump" in the harness. By staggering them (placing them at different intervals), we keep the Wire Harness slim and flexible.
Because a splice strips away the wire insulation, it is vulnerable. Our drawings for Waterproof systems require adhesive-lined dual-wall heat shrink over every splice. We include a detail view (an enlarged bubble) on the drawing to show exactly how the heat shrink should overlap the wire insulation—usually by at least 15mm on each side—to ensure a dry connection.
The final step in building the drawing is defining how we will prove the Wire Harness works. We don't just ship it; we test it against the drawing's specifications.
We include a "Test Table" on the drawing.
Continuity Test: Ensures every wire goes to the right pin.
Short Circuit Test: Ensures no wires are touching where they shouldn't.
Hipot (High Potential) Test: We apply a high voltage (e.g., 500V or 1000V) to check the insulation integrity of an Electrical Wire Harness. This is vital for safety in high-voltage industrial machines.
How strong is the crimp? Our drawings reference the IPC-WHMA-A-620 standard. We specify the "Pull-off Force" required for each wire gauge. For example, a 16 AWG wire might require a minimum pull force of 135 Newtons. This ensures that the Wire Harness won't fail when pulled during installation.
We add a list of "Critical to Quality" (CTQ) points on the drawing.
No exposed copper at the back of connectors.
Labels are legible and in the correct orientation.
Connectors are fully seated and locked.
The overall length is within the +/- 12mm tolerance (standard for most Industrial harnesses).
A Wire Harness drawing is a living document. As a machine evolves, the wiring often changes. We must maintain a strict revision history to ensure that "Revision A" isn't mixed up with "Revision B."
Every drawing we build includes a revision block in the corner. It lists:
The revision letter (A, B, C...).
The date of the change.
A description of what changed (e.g., "Changed J2 connector from 4-pin to 6-pin").
The engineer's signature.
For large-scale Automotive or Industrial projects, we integrate the drawing into Product Lifecycle Management (PLM) software. This ensures that the manufacturing floor is always looking at the latest version of the Wire Harness design. It prevents the nightmare scenario of building 1,000 harnesses using an outdated drawing.
Finally, we export the drawing in multiple formats.
PDF: For easy viewing and printing.
DXF/DWG: For use in automated cutting and stripping machines.
STEP: 3D models for mechanical engineers to check for interference in the overall machine assembly.
Building a Wire Harness drawing is a meticulous blend of electrical engineering and mechanical design. By following a structured process—from schematic integration to full-scale layout and detailed testing specs—we create a roadmap for a reliable, safe, and high-performance product. Whether you are designing a Flat Wire Harness for space-saving or a rugged Automotive Wire Harness, the drawing is where quality begins.
Q: Why is a 1:1 scale important for these drawings?
A: It allows production teams to use the drawing as a "nailboard." They can lay the physical Wire Harness directly on the paper to verify lengths and branch locations during the assembly process.
Q: What is the difference between a schematic and a harness drawing?
A: A schematic shows the logical flow of electricity (how it works). A Wire Harness drawing shows the physical reality (how long it is, what it's wrapped in, and where the connectors are).
Q: How do you handle heat in an Automotive Wire Harness drawing?
A: We specify high-temperature insulation like XLPE and heat-reflective tapes in the BOM. We also route the harness away from exhaust manifolds in the physical layout instructions.
At XSD Cable, we don't just understand Wire Harness drawings; we bring them to life with precision and scale. As a leading factory specializing in high-quality cable and harness solutions, we possess the advanced machinery and engineering expertise to handle everything from Custom Wire Harness prototyping to massive Industrial production runs. Our facility is equipped with high-speed automated cutting, stripping, and crimping machines that ensure every millimeter of your Electrical Wire Harness matches the drawing perfectly.
We take immense pride in our quality control, utilizing state-of-the-art testing equipment to guarantee that every Waterproof or Automotive Wire Harness leaving our floor is 100% compliant with international standards. When you partner with us at XSD Cable, you are choosing a team dedicated to durability, reliability, and technical excellence. We have the strength to turn your most complex drawings into high-performance realities.